Monday, October 31, 2011

bookmark monday.

Hey guys! I got out of work late Friday night, went to the movies, worked all day Saturday, went to my parents for dinner, went to a Halloween party, worked all day Sunday, and came home to do massive amounts of homework for 5 hours while wrapped in a blanket, wearing a hat and gloves, and sipping hot cocoa (out of a disney princess mug, of course). Whew. THAT was a sentence.

What's my point? My point is... anywhere in that run-on sentence, does it say "made cookies!" or "cooked dinner!" ? No? Well, that's because the only action my kitchen has seen is the occasional microwaving of hot beverages and possibly D making spaghettios. That boy's obsessed.

So in lieu of a recipe today (sorry!), I'm going to make your mouth water by showing you what I've bookmarked lately that I haven't gotten around to trying out.


Happy Monday, friends!

Friday, October 28, 2011

pulled pork.

Can we talk about beer for a second? I used to d.e.s.p.i.s.e. it. As in, couldn't even drink half a can. I would have my go-to Smirnoff or fruity mixed drink (hello amaretto sour) while everyone else had beer like normal people. I couldn't see how my opinion of beer could ever change, but I kept on trying it here and there just for kicks.

And you know what? I came around. I can finally see what everyone else sees in beer. I mean, so what if the beer I like is probably the least beer-tasting beer there is? It's still beer, ok? Jeez. Maybe eventually my taste buds will allow me to expand my beer-liking palate, but until then... I'm perfectly happy with my coors light.


Don't get me wrong, I still love me a fruity mixed drink (and would choose one over beer 95% of the time), but all I'm saying is that now I can drink a beer without wanting to spit it out. That's progress, right?

Now that I've gone off on a tangent and probably bored you all to death, let me get to the point of this rambling monologue. I got this recipe for pulled pork from D's mom, and it's a winner. The original recipe calls for water instead of beer, and it's beyond delicious. So if you don't have any beer laying around, definitely still make this pulled pork. Don't go out and buy a 6-pack just to make this... unless you have other plans for the rest of the beer! ;)


Pulled Pork with Beer
1 center cut pork roast (mine was a little under 2 lbs)
1/2 cup beer (or water)
garlic powder
onion powder
salt & pepper
Your favorite barbeque sauce (I use Sweet Baby Ray's)

Season the outside of the pork roast with garlic powder, onion powder, salt and pepper. Place in crock pot. Pour beer (or water) into the crock pot. Place lid on the crock pot and cook on high for 2 hours and then on low for 6-7 hours.

Remove pork roast (and clean out the crock pot) and shred in a large bowl with two forks. Add as much BBQ sauce as you like (D likes it kind of dry, so I just add a little extra BBQ sauce to my sandwich!), mix until combined, and put back into the crock pot. Allow to cook for another 30-45 minutes. (Now is the perfect time to prep side dishes!) 

Photo Tutorial:
Fresh out of the crock pot!

Shredded...

Add the BBQ sauce...

Done! Now it just has to go back in the crock pot for 30-45 minutes to warm up and incorporate!

Thursday, October 27, 2011

chicken pot pie.

You know those individual sized chicken pot pies that you can buy at the store and heat up in your microwave? Well.... this is better. Promise. And guys, I don't take promises lightly.


This is D's favorite meal. Hands down. He eats half of the pie every time I make it and swears that he could eat the whole thing if I let him. I say his eyes are bigger than his stomach.

I also made this pie one time for a couple of my friends, and the next time they came over for dinner they requested I make it again. They didn't want any of my other recipes that I swore up and down were delicious. All they wanted was chicken pot pie.

I guess I can't blame them. This recipe is from my mom, and I remember eating it 1-2 times a month for my entire childhood. This is the dish my brother always picked for his birthday dinner. It's birthday dinner material.

** I actually only used 2 of the chicken breasts for this. The other 2 were for Chicken Tacos the next night!

Speaking of birthday dinners, a certain someone's birthday is coming up in a few weeks.. and I wouldn't be surprised if he requested this. But of course D will also request a birthday dinner at his parents house so that he can have his other favorite dinner, Chicken Parmesan. He's a birthday double dipper. But who isn't? It's not a birthday, it's a birthweek. Didn't you know?

Just make this. Tonight. And D wouldn't object to getting leftovers in the mail.


Chicken Pot Pie

2 cups cooked and diced boneless, skinless chicken breast (about a pound or 2 breasts)
2 cans cream of potato soup
1 can veg-all (or mixed vegetables) drained
1/2 cup milk
1/2 tsp thyme
1/4 tsp black pepper
2 pie crusts (1 package)
1 egg, beaten

Preheat oven to 375 degrees. Combine first 6 ingredients in a large bowl. Spoon into prepared pie crust (no need to grease the pie plate). Cover with top crust. Press down onto first crust with fingers to seal, cut off extra crust with a knife, then seal edges of crust with a fork. Brush pie with beaten egg. Slit top of crust 2-3 times with a knife. Bake for 40 minutes. Cool for 10-20 minutes before cutting. 

Photo Tutorial:

Only thing missing is the chicken...
Cutting up the chicken...
2 cups!
The chicken was added to the other 5 ingredients in the bowl (1st picture) and then mixed! Now time to pour..

Into the pie crust! And spread out evenly.

Then add the top crust, press down on the edges to seal, then cut off the crust.

Then, using a fork, press down on the edge, and slide out toward you while keeping pressure on the fork. If you pull up instead of sliding out, it will separate the two pie crusts.

Dip the brush into the beaten egg, and paint your pie!

Add some slits to let the steam out and then throw it in the oven to cook...

Finally! After 40 minutes in the oven! Now begin the agonizing 10-20 minutes (10 if you're impatient!) of waiting...

Voila! Time to dig in!

Wednesday, October 26, 2011

what i ate wednesday.

Today I'm going to give you a peak into the life of me. I took a picture of everything I ate yesterday just for you! Don't you feel special? ;) 

Apple cider that I bought at the apple orchard on Sunday!
A leftover pulled pork sandwich from Monday night. Recipe coming soon!

 Unpictured: A big ol' plate of apple crisp! Mmmmm.

French Vanilla Cappuccino!
A Honey Crisp apple. Hands down my favorite kind of apple.
Homemade Chicken Pot Pie. Recipe coming soon!

Also, today I made funfetti cupcakes. Because they're delicious AND fun. I topped them with rainbow chip frosting because D and I freaking love that stuff. I've seen D eat it out of the container with a spoon. Not joking.

I'll be back tomorrow with either pulled pork or chicken pot pie! Ahh, a cliffhanger. Don't you just love a good cliffhanger? Yeah, me neither. Sorry about that!

Tuesday, October 25, 2011

apple crisp (version #1).

It's the perfect time of year for apple crisp. Didn't you know? Not only are the apples fresh, but while it's baking, it fills your house with the aroma of fall.


Plus, I went apple picking on Sunday, so we have a ton of apples to use up. (More apple recipes coming to a computer screen near you soon)

When I was in High School, my mom showed me how to make her recipe for apple crisp. The next time I made it, I did it alone. Apparently, I make a way better apple crisp than my mom (her words), so I got roped into making it all the time. Even my friends started requesting that I bring it to every team or class party/dinner/etc. So I thought I had this apple crisp thing down.

PS. I need an ice cream scoop.
Then I met D. He told me that his favorite dessert was apple crisp, so I thought I hit the jackpot. I made him my "famous" apple crisp, and he loved it. Since we were still kind of "new", I knew he wouldn't tell me that he secretly liked his mom's better, but I could tell. I had to try hers!

Luckily, for his birthday dinner at his parents, D requested apple crisp in lieu of cake (no surprise there), so I got to try his mom's recipe. It's super delicious! I love the topping. Isn't the topping the most important part of apple crisp? I vote yes.

So, in the end, I now have two awesome recipes for apple crisp. Two is better than one! Today I am sharing D's mom's recipe for apple crisp because.... well, because that is the one I made yesterday. Whenever I post my family's recipe, you guys can decide for yourself which you like better, k?

Apple Crisp 
Recipe from D's mom

4 cups peeled, cored, and sliced apples
1 tsp cinnamon
1/2 cup water
1 stick butter
1/2 cup sugar
3/4 cup flour

Preheat oven to 350 degrees. Peel and slice apples. Pour into a square (8x8 or 9x9) baking dish. Sprinkle with the cinnamon. Pour the water over all.

In a separate bowl, combine butter and sugar using a pastry cutter. (You could use a food processor for this) Continue "cutting" the butter into the sugar with the pastry cutter until medium to small sized "crumbs" form. Like this:


Add the flour and mix. I just used the pastry cutter to combine the flour into the sugar and butter. Pour the topping over the apples and spread evenly. Bake for 35-40 minutes. Remove from oven and allow to cool. This will let the topping get "crisp" instead of being mushy when you cut into it! But if you're impatient like me, warm apple crisp sure does melt a scoop of ice cream perfectly!


Monday, October 24, 2011

pan fried zucchini and squash.

Last week, I had dinner at a local restaurant that specializes in locally grown, in season, fresh food. While they do have some things that are always on the menu (like their brick-oven pizzas), a lot of things on their menu changes with the seasons.

I ordered a braised brisket that was served with caramelized onions, smashed potatoes and "veg du jour". Because I know that the restaurant prides themselves on offering fresh, in-season ingredients, I knew that the vegetables would be great.


I ended up loving the entire dish. I don't like onions. If given the choice, I always order everything with no onions. Why don't I like onions? I don't know. It's actually pretty irrational. So for once, I didn't order it without the onions. And they were good! They were cooked down so much that they were actually sweet.

The brisket was tender and flavorful, and the smashed potatoes had little bits of red potato skin and were perfectly seasoned. But would you believe me if I told you that my favorite part was the vegetables? If you knew me you would. It was summer squash, zucchini, and eggplant all cooked until perfectly tender and delicious. 

And they weren't bland at all. I feel like the vegetable at most restaurants is an afterthought. Like a little bowl of mixed peas and carrots that came from the freezer. And they can only be ingested with an entire salt shaker full of salt. Not these. 

So they inspired me. The next day after the gym, I went to the store and bought two squash, a zucchini, and an eggplant. I want to do more things with them (I still have a lot of the squash and zucchini left, plus the whole eggplant), but I thought this was a good starting point. They were tender, buttery, seasoned well, and a great side dish to the baked breaded haddock that I made for dinner. 


While I'm quite aware that this hardly constitutes a "recipe", they were just too good not to share. Promise I'll have a real recipe tomorrow. Until then, invisible friends.

Pan Fried Zucchini and Squash

1 small-medium squash
1 small-medium zucchini
2-3 tbs olive oil
2 tbs butter
salt
pepper

Wash the squash and zucchini. Pat dry. Slice the ends off and cut into about 1/4 to 1/2 inch pieces. The thinner they are, the quicker they will cook, but you might want them a little meatier for substance. In a large pan, heat olive oil and butter over medium heat until butter is melted. Add the squash and zucchini to form one layer on the bottom of the pan. Sprinkle with salt and pepper as desired. 


Cover and reduce heat to medium-low. Keeping cover on pan whenever you aren't working with the vegetables, continue cooking/flipping/moving the squash and zucchini around the pan until they are nice and soft. Once done, transfer vegetables to a paper-towel covered plate to get the oil off. 

If you need to do another batch (you ran out of room in the first pan to cook all the vegetables), simple add a little more olive oil and butter to pan if necessary (you may have enough leftover). Cover the already cooked vegetables with a microwave cover or put in microwave to keep hot. Repeat process for next batch. Serve hot!

You can obviously use only 1 squash or only 1 zucchini or even 3 of each. It just depends on how much you want to make!

Sunday, October 23, 2011

in the orchard.

Hey guys! I know it is getting toward the end of apple season (at least for picking), but today I finally got to go apple picking with my sister, her mom, and my niece! (We went last year too. It's becoming somewhat of a tradition) D was supposed to come today, but he came down with a cold yesterday and he's (still) stuck on the couch. Boo. Maddie (my niece) brought one of her friends, too. Although it was pretty cold, we still managed to have a fun time!


At this point in the season, the only thing left on the trees to pick was Melrose, Ida Red, Crispin, and one other that I can't remember the name of. In the general store at the apple orchard, they did have the last of the freshly picked apples from the trees (like Macs, Cortlands, Honey Crisp, etc). 


I had my heart set on getting some Honey Crisp, but a small bag of them was $8! (Compared to Macs at $4.50) Holy cow! And the worst part? They said that for U-pick, Honey Crisp were the same price as all the rest. Dangit. I'll have to go next year when they are still on the trees!

The Crispin were HUGE! 


Just for a size comparison, the red apple is a normal/slightly bigger than normal sized apple. The Green one is the crispin:


Anyways, my sister's mom's car got stuck in the mud in between a couple of the rows of trees, so we had to go hang out at the general store while they got a tractor to pull her out. Fairly comical.


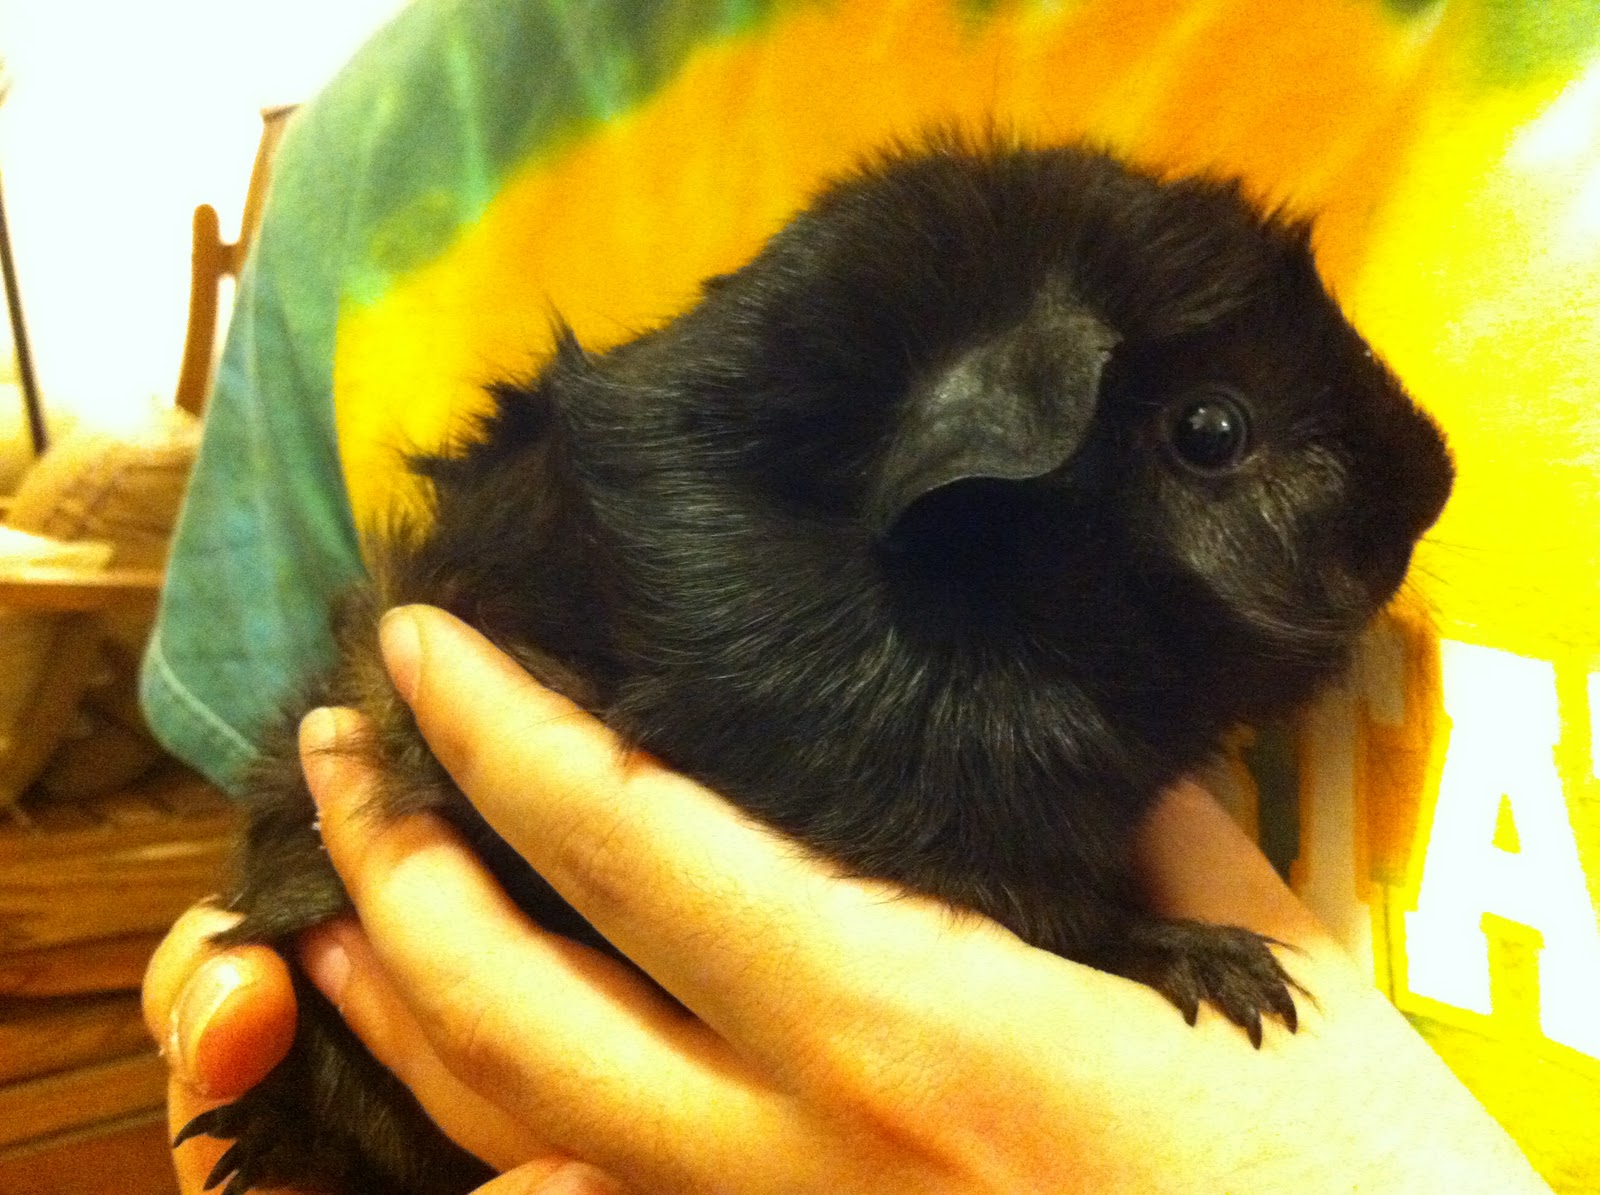
While we were at the store, I managed to snag a couple of pictures of the goodies they had there. Oh! And there was this adorable puppy...


The squash that is sitting on top of the GIANT one is a normal size. I put it there for size comparison. HOLY GIANT SQUASH:


They also have freshly baked cookies, gourmet mustard, real maple syrup, cheese curd, and homemade, fresh, hot donuts. While everyone else snagged a cookie, I just couldn't pass up the donuts. I don't even really like donuts. I know, color me weird. But they were calling to me. Guys, let me just say: best donut ever. It was an apple cider donut with cinnamon sugar, and it was warm and light and airy and crispy and perfect. And guess what? It was BAKED. Invest in a donut pan, I must.


I ended up leaving with two more donuts to go (for my parents and D, of course!), a half gallon of apple cider made at the orchard, and a big bag of Mac's. They're D's fav, and I'll just have to suck it up and buy some Honey Crisp from the store before they're out of season. 

Overall, a great Sunday! (Even though my Titans lost!) Adios!

Friday, October 21, 2011

baked, breaded haddock.

Do you guys think fish is scary? I used to. I had never cooked fish before because... well, it seemed fancy. Fish seemed like a eat-out kind of food. Better left for the cooks who know far more than me and work in restaurants. But guess what? It's not scary. Embrace it.

You see, I like fish. A lot. And ever since D started working in a seafood department, he loves fish. (I couldn't get him to try HADDOCK before, but now he tries scallops and herb-crusted talapia and craw-fish and calamari and everything else under the sun. Ugh.)

So since we both liked fish, I decided it was the perfect time to "learn" to cook fish. People, trust me, there is no learning involved. If you can cook a frozen pizza, you can make this fish. It is seriously the same skill level.


Not only is it SUPER easy, it's fast, delicious and healthy (well...it does have bread crumbs and Parmesan cheese and butter on it. But it's fish! It still has to be better for you than a cheeseburger... right?) I'm not exaggerating when I say we have had this at least once a week for the past, oh, two months. D told me that when people buy haddock from him and they ask how they can cook it, he tells them this recipe!

So what am I trying to get at by all this rambling? If you have never cooked fish before, this is where you should start. After making this, you will feel confident enough to branch out into other types of fish or other ways to cook fish. (Personally, I really want to try fish tacos! Anyone got any good recipes? Shoot em' my way!)

Baked, Breaded Haddock

4 haddock fillets with the skin removed
1/2 cup milk 
3/4 cup bread crumbs
1/4 cup Parmesan cheese 
6 tbs butter
cooking spray 

Preheat oven to 475 degrees. Cover the bottom of a baking sheet with tin foil (to help avoid mess) and place a rack on top of the foil. (I use a cookie cooling rack, it works great) Spray the rack with cooking spray to avoid sticking.


Put milk in a bowl. On a platter or a shallow dish, combine bread crumbs and parmesan cheese. Working one fillet at a time, dip the fish in the milk to coat, then dip in the bread crumb mixture. Be sure to coat thoroughly, even picking bread crumbs up and patting onto the fish to ensure and even coating. Place on baking rack. Repeat until all 4 fillets are breaded. 

(Since it's just D and I, I only made 2. This recipe is for 4 though!)
 Melt butter in microwave and drizzle evenly over fish fillets. 


Bake in oven on top rack for 15 minutes.

Thursday, October 20, 2011

homemade applesauce.

You know what everyone FREAKS OUT over when it's fall?

Canned pumpkin.

I mean, I don't even really get it. The whole pumpkin thing. I don't like pumpkin pie, and so I guess I've let my view of all things made with canned pumpkin be tainted. I did try some pumpkin cake bars at Thanksgiving one year that my sister made, and they were pretty good. Fine, they were delicious. Happy? I guess maybe I should try making at least one thing this fall with some dang canned pumpkin.

But until then, I'll be enjoying the forgotten, ugly step sister of fall:


APPLES.

I don't see nearly enough posts on the blogs I read devoted to apples or apple recipes. What gives, people?! Just think of all the delicious goodies you can make: apple pie, apple crisp, caramel apples, AND the star of today's show.... appleSAUCE.


I'd never made homemade applesauce until a few weeks ago. You see, when I was little, I remember watching my grandma make applesauce... except she used this crazy metal contraption that looked like it was 100 years old to mash the apples. Not kidding. So I was under the impression that one needed a crazy 100 year old contraption in order to make applesauce. Friends, that is not the case.


The only equipment you need is a knife, a pot, and a fork. I suppose if you had an immersion blender, that would make the applesauce even smoother, but unfortunately I do not. But it's really not necessary! And guys and gals, this applesauce tastes better than store bought. I swear! And it's super easy.

Homemade Applesauce
Recipe from Allrecipes.com

4 medium sized apples (or 5 smaller ones)
3/4 cup water
1/4 cup sugar
1/2 tsp cinnamon

Peel, core, and chop the apples. In a saucepan, combine the apples, water, sugar, and cinnamon. Stir to combine. Cover and cook (over medium heat) for about 15-20 minutes or until apples are soft. Allow to cool and then mash the apples with either a fork or a potato masher. I left mine a little chunky. (This is where I could see the immersion blender coming in handy, but so not necessary!)


PS: We're going apple picking again this Sunday. Look out for at least one apple-related recipe next week!

Wednesday, October 19, 2011

wordless wednesday.

The past week in pictures:


What have you done since last Wednesday?